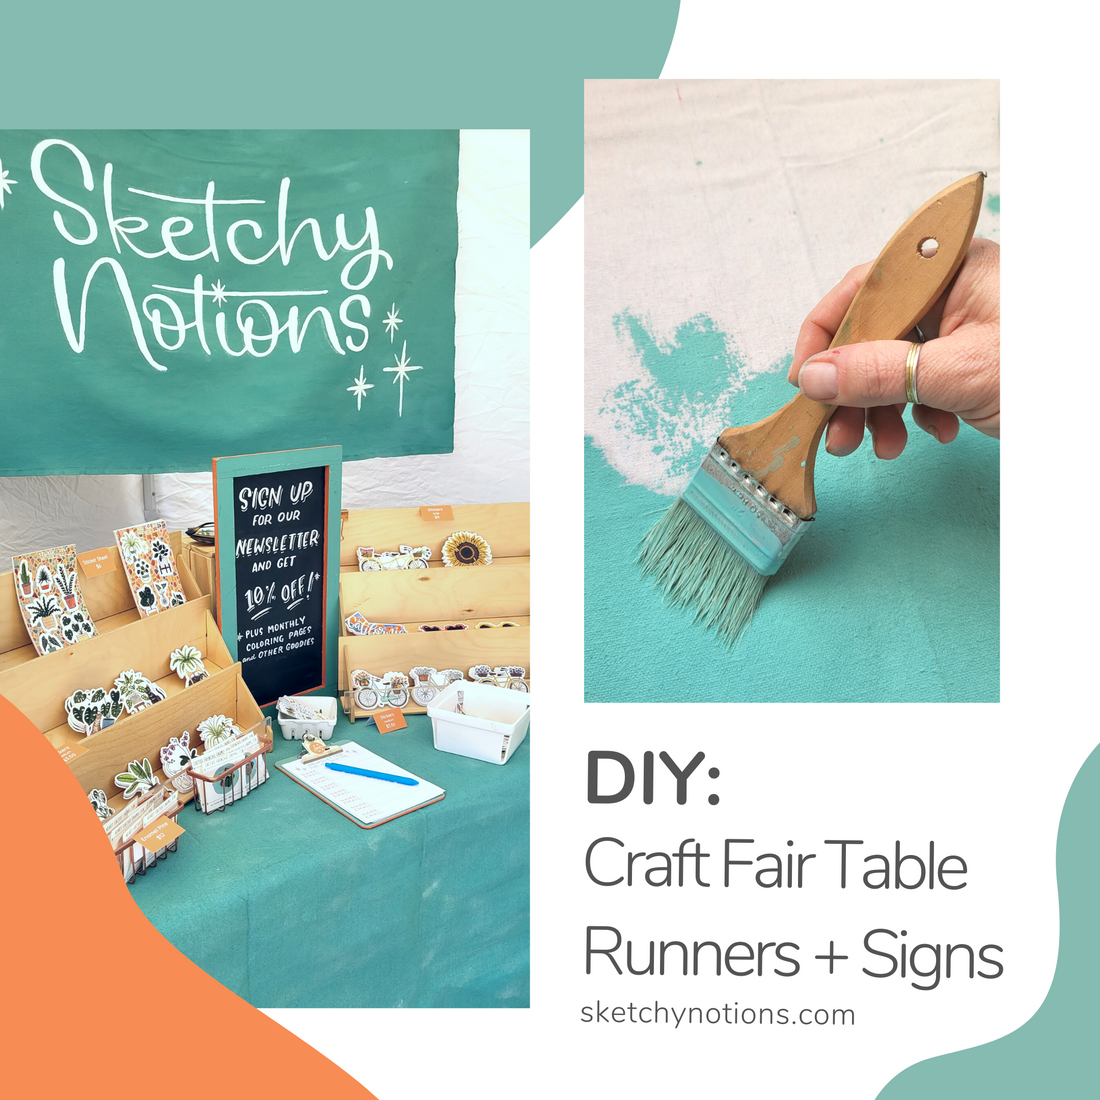
I've been wanting to zhuzh up my booth for markets for a couple seasons now and I was determined to make it happen this year. Fast forward to October and I still hadn't ordered anything and my first markets of the season were around the corner. So I did what I normally end up doing... DIY!
Bonus too... all of this cost about $75! Considering most custom table runners cost about $100 each, if you have the time this can save you a nice chunk.
Supplies:
- A 4' x 15' drop cloth. I bought this one from Home Depot. The measurements in person are slightly smaller but are a great width for 4-6' table runners and I was able to make 3 runners!
- Paint! I used 2 regular pints of house paint (also from Home Depot) because I wanted the colors to do well outside and in the elements. I also use this paint in my other decor so the extra won't go to waste. One pint should get you enough paint/water mixture to cover one 4' x 15' drop cloth
- Brushes. I used the regular cheap flat brushes from Home Depot
- A bucket or trash can to mix paint in (I used a plastic trash can I already had)
- Water
- Outdoor space and a plastic table. I definitely don't recommend doing this inside unless it's a garage or un-carpeted space. The paint will get on things, including the table or surface the drop cloth is on top on because it soaks through

Let's make some table runners!
- Gather all your supplies and roll up your drop cloth so it's easier to handle and move around. Iron now if you wish.
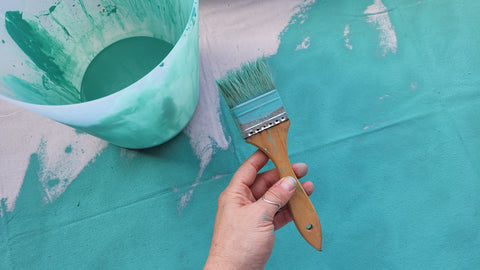
- Open your paint and pour in about 1 cup of paint and 2 cups of water. This can definitely vary depending on what color your working with (or blending, I was combining two shades of grey-green). Test it on paper or a scrap of fabric to see if it's a shade you like
- Start painting! Work from a corner across the bottom edge and slowly work your way up the fabric. Fully saturate your brush and spread it in circles, making sure to overlap previous areas you've already added paint to. This ensures you cover all the fabric and aren't left with gaps of unpainted canvas.
- As you paint and the canvas dries, roll the painted canvas up on itself and unfurl more unpainted canvas.
- Continue painting until you reach the end of the drop cloth. You will have to mix more paint as you go. One batch usually lasted me about 3 feet of drop cloth length.
- Allow to dry fully! I left mine out to dry overnight.
- Layout your painted canvas and measure your cuts. For my table runners, I cut them about 60" long so they'd be floor length and still wrap over the back side of my table a bit.
- Cut with fabric shears (my friend Amal Iqbal makes a gorgeous pair of scissors)
- If turning these into signs, paint your signage! I used house paint on the signage pieces as well
- Bring to your next market and display!

Notes:
- Still not sure how to do it? I shared videos on Tik Tok and Instagram that shows a little more about how I made these, especially the brush strokes!
- Paint type: You could probably use acrylic or tempera but I would recommend using a fabric paint medium so it's a little more suited for using on yaaards of fabric
- Ironing: If I were to do this again, I'd iron the whole drop cloth first. I was in a rush (and lazy) and because it's house paint, it firmed up any fold and crease marks in the fabric. They've become less obvious as I've been rolling and displaying the runners but ironing could save that headache from the start
- Use what you have! A couple of the signs are painted on my old canvas signs! This technique would probably work on regular table cloth fabric too!
