Out of everything I post online, my giant trio of whiteboard calendars always gets the most questions. I LOVE these guys and I'm so excited so many folks are also interested in them as well. Also, just fyi, this post has some Amazon affiliate links. Meaning if you click through that link and end up checking out, I get a tiny commission.

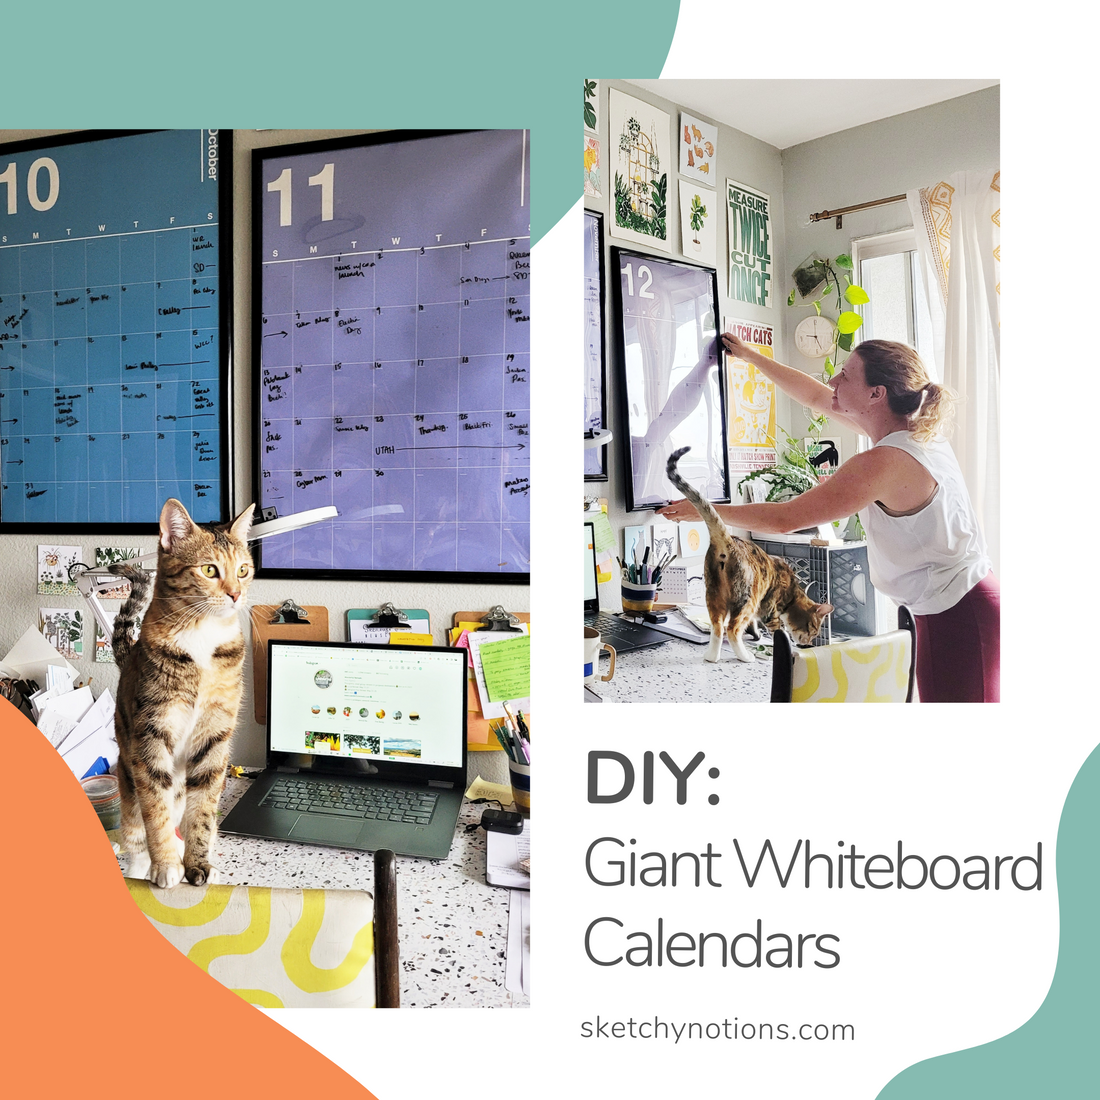
These have really be a gamechanger in my studio. Not only are they a nice pop of color on the wall, but they're been really helpful staying on top of deadlines for the wholesale/retail calendar cycle.

Luckily, too, they're fairly easy to make! You'll need...
- A Poketo Spectrum Wall Calendar Set. I ordered up mine from my friend's shop, the Paper + Craft Pantry, and lots of other independent stationery shops stock them as well.
- 3 Poster Frames. I ordered these ones with the 20 x 30" opening from Michaels but these ones on Amazon would also work. The calendars themselves measure 21.4" x 31" and can be trimmed (we'll get to that...)
- Scissors. My brass pair is by my sweet friend Amal Iqbal
- Picture hanging hardware and hammer
- Whiteboard pens (or wet erase chalkboard markers if you want more contrast on the darker colored months!)
- Pen or pencil
- Optional: a flathead screwdriver, ruler

Once you gather all your supplies...
1. Unwrap your frames! And unroll the calendar month you want to frame first
2. Use your scissors or a flathead screwdriver to pry open all the flat brads along the back of the frame

3. Once they're all folded open, gently pull out the backing chipboard or cardboard
4. On a flat area, lay the backboard on top of the unrolled calendar so it stays flat. Center it as best you can so it has 1/4 - 1/2" peeking out on each side. This will vary depending on what size frames you're using

5. Trace along the edge with a pencil or pen and then trim off the extra along each edge. (I'm *very* lazy so I typically skip measuring and just drag the scissor blade along the edge of the backboard on top of a run! The edges are hidden by the frame so I've never bothered with measuring to prevent rough edges).
6. Once the edges are trimmed, place the calendar in the frame with the backer on top. Make sure the top of the calendar and the top of the chipboard with the hanging hardware are both at the top of the frame!

7. Use your scissors again or screwdriver to fold back down all the flat brads.
8. Repeat 1-7 as many times as you want for as many months you want displayed at a time!

9. Date the calendars and fill them all in. I find it easier to add the dates when I have them off the wall.
10. Install your hanging hardware on the wall. If you bought the plastic frames from Michaels, I've actually had luck hanging these using just pushpins! Framing nails work well too since they're so lightweight. If your frames are wood or have glass, you will likely need something more substantial. Get your hardware measured and installed and hang your colorful spectrum calendars!

Then bask in the awesomeness of having three colorful calendar months hung up that you can write notes on and events. No excuse to not be organized anymore, right? ;)
Plus these add such a great pop of color to any wall! The kittens, Ginger and Babka, seem to love their new office situation/modeling backdrop.


2 comments
I came across AllMachines while looking for brand-specific equipment info. The page on Cat Excavators has a clear breakdown of models, and I found the John Deere Excavators section really helpful too. There’s also a section on Bobcat Loaders with specs you can compare easily, plus a useful page for John Deere Loaders as well.
I love this idea! I have “time blindness”, and I’ve been looking for ideas to help me keep track of the passage of time more effectively. I was thinking of putting all 12 months on my wall in some attractive way, but I like this colorful and extra-large three month idea as well!